
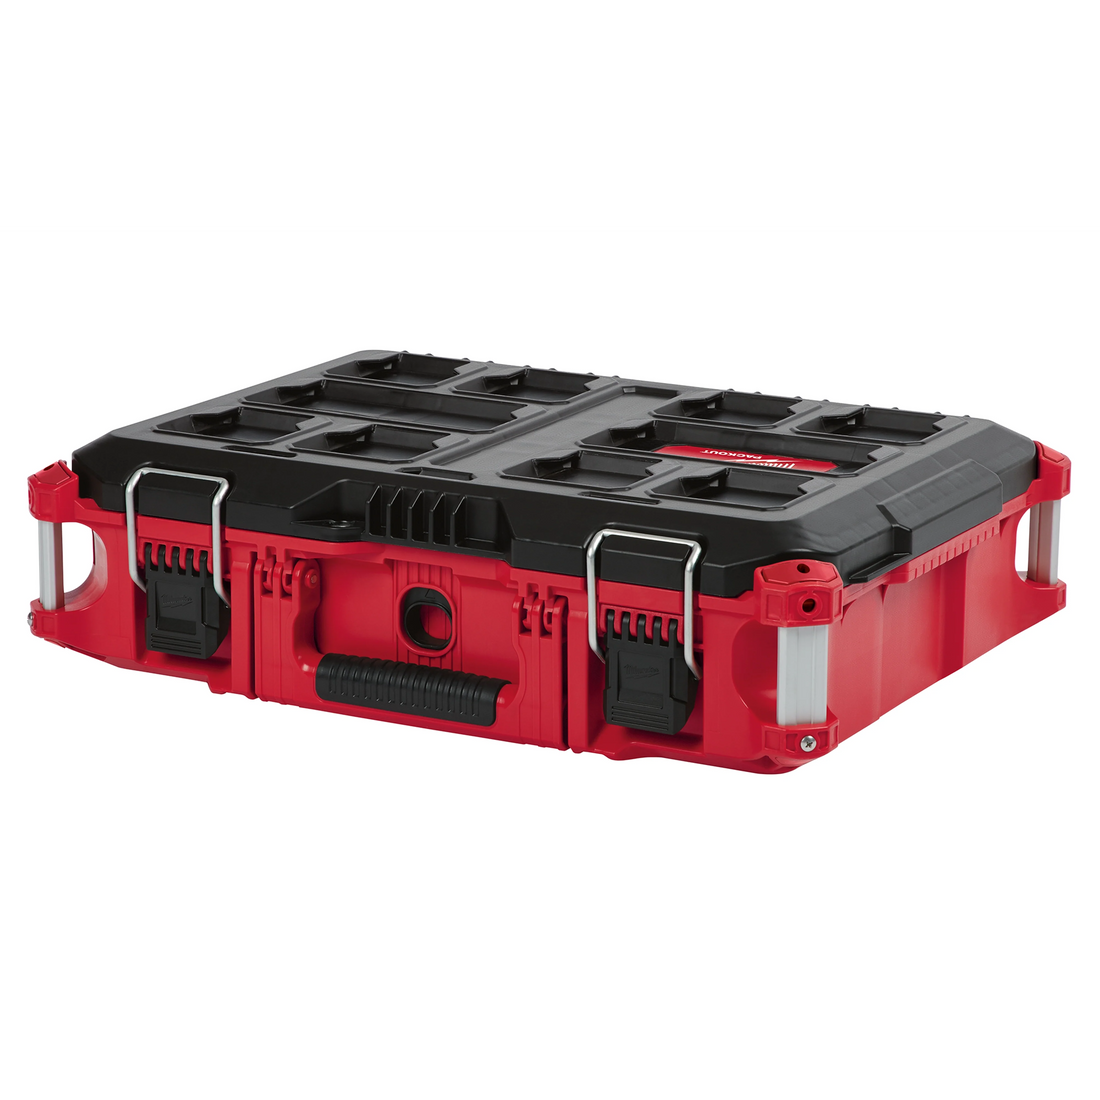
How to Mount Milwaukee Packout in a Truck Bed (4 Methods, Ranked by Permanence)
Four ways to mount a Milwaukee Packout in your truck bed, ranked from most permanent to most portable. Method 1: bolt the Milwaukee OEM PACKOUT™ Mounting Plate (model 48-22-8485) through the bed floor — strongest hold available, drilling required. Method 2: Manta Mount cleats — no holes, full modularity, swaps between trucks in minutes. Method 3: Alpha Rail side-mount system — turns the mounted stack into a full work-truck station with accessories. Method 4: ratchet straps — zero hardware, completely legitimate for occasional hauling when done right. All four hold at highway speed. The question is permanence vs. portability.
Before You Start — What to Know About Packout in a Truck Bed
Do all Packout boxes share the same mounting footprint?
Yes. The Packout cleat-and-receiver system is universal across the standard line — toolboxes, organizers, and the rolling toolbox all use the same interface. Whatever method you choose works with any Packout box you own or add later. For a complete breakdown of what's cross-compatible across the system, see the complete Packout compatibility guide.
One boundary: this footprint is specific to Milwaukee Packout. Don't try to cross-mount a non-Packout storage system onto Packout hardware.
Bed liner compatibility — rubber mat vs. spray-in vs. bare metal
Bare metal or spray-in (Rhino, Line-X): Best case. Drill straight through; the plate mounts flush and stays rigid.
Rubber drop-in mat: The rubber flexes under load, so a plate won't sit fully rigid. For a permanent install, either remove the mat in the mounting zone or shim under the plate's bolt points so it contacts the metal beneath.
Plastic drop-in liner: Too much flex for plate mounting. Skip to Method 2.
Method 1 — Milwaukee PACKOUT Mounting Plate: Most Secure, Permanent

The OEM PACKOUT™ Mounting Plate (model 48-22-8485), rated at 100 lbs for floor-mount applications, is Milwaukee's own solution. It bolts through the bed floor and gives you the same snap-in receiver interface as any Packout surface — the bottom box clicks in and nothing moves.
Steps: 1. Position the plate where you want the box. Account for cab clearance and tailgate swing. 2. Mark hole locations through the bed floor. 3. Drill. On spray-in liner, drill straight through it. 4. Feed bolts down from above; place backing plates underneath the bed to spread load. Torque evenly. 5. Snap your bottom Packout box onto the plate receivers.
Trade-offs: Nothing slides, nothing tips. But you're committed to this truck — moving the system means re-drilling. If you're on a rubber or plastic liner, read the compatibility section above before you pick up a drill.
On stacking: Only the bottom box mounts to the plate. Every Packout box has a latch system on top, so boxes above lock to each other. The full stack is as secure as the bottom-box connection — which is why getting that first mount right is the whole job.
Method 2 — Manta Mount Cleats: No Drilling, Full Flexibility

The right call if you run one Packout setup across two trucks, share a vehicle, or haul jobs in different rigs week to week.
Manta Mount cleats from our curated selection lock directly into the Packout's built-in receiver slots — the same geometry the boxes use to stack. You anchor the cleats to existing tie-down rings or bed rail hardware. No new holes in the bed.
Steps: 1. Identify your anchor points — most trucks have D-rings or bed rail anchors already. 2. Position the cleat array to match the bottom box's receiver pattern. 3. Secure cleat anchors to existing hardware. 4. Snap the box in. Test it: try to lift straight up and shift laterally before loading.
Load rating: 50 lbs per cleat.
The cleats use the same locking geometry as the standard Packout stacking interface — they don't release under lateral or vertical load without deliberate press-and-twist.
Trade-offs: Costs more per attachment point than a single OEM plate. Worth it the moment you stop counting trucks. If you're deciding between the plate and cleats, both options have clear trade-offs outlined in the sections above.
Method 3 — Rail Mount System: Best for a Full Work-Truck Build
If your Packout lives in the bed permanently and you want it to function as an actual workstation — not just secured boxes — add the Alpha Rail system on top of whichever base method you use.
Anodized 6061 aluminum rail side mounts attach to the box sides once the bottom box is secured. From there, bolt on what you need: level holders, an extension cord rack, or the Packout Folding Metal Side Table — which mounts to the rail or directly alongside the stack at the truck bed rail.
Steps: 1. Secure the bottom box using Method 1 or Method 2. 2. Attach Alpha Rail mounts to the box's side slots. 3. Add accessories in the order that makes sense for your layout. 4. The folding side table deploys for a work surface on site; folds flat for transit.
Trade-offs: Most setup time, most cost, most capability. This is a build. For a truck that works every day, it pays back fast.
Method 4 — Ratchet Straps: Cheapest, Legitimate for Occasional Hauling
One-off job, rental truck, borrowed vehicle — don't over-engineer it. Ratchet straps are the right call here. Just strap it correctly.
How to do it right:
- Run straps through the lower handle loops, not through lid latches. Lid latches aren't structural anchor points.
- Use two straps in an X-pattern — one fore-aft, one side-to-side. This kills both sliding and tipping.
- Don't overtighten. Firm is enough; crank it too hard and you'll crack box corners.
One useful add-on: the Handle Quick-Release Pin Kit pops the handle off the rolling toolbox so your strap sits lower on the box body — a more secure position than running over a raised handle.
Trade-offs: Boxes can micro-shift on rough roads. Lid-open risk exists if a strap rides up onto a latch (reason not to use latches). Done right with the X-pattern, it holds at highway speed. Skipped the pattern — it doesn't.
Which Method Is Right for Your Setup?
| Method | Drilling required | Portability | Upfront cost | Best for |
|---|---|---|---|---|
| OEM Mounting Plate | Yes | Low — stays in that truck | Low | Full-time work truck, max security |
| Manta Mount Cleats | No | High — swap trucks easily | Medium | Multi-vehicle or modular setups |
| Alpha Rail System | Depends on base method | Low once built | High | Dedicated work-truck build with accessories |
| Ratchet Straps | No | High — zero hardware | Very low | Occasional use, rental or borrowed trucks |
FAQ
Can I mount Milwaukee Packout in a truck bed without drilling? Yes. Manta Mount cleats available in multi-pack options attach to existing tie-down anchors or bed rail hardware — no holes in the bed required. Ratchet straps are also a no-drill option for occasional use.
What is the Milwaukee PACKOUT Mounting Plate and what does it bolt to? It's the OEM PACKOUT™ Mounting Plate (model 48-22-8485). Bolts through the bed floor from above with backing plates underneath to spread the load. Works on bare metal or spray-in liner. On a rubber mat, shim under the mounting points or remove the mat in that zone so the plate contacts the bed.
Can you mount a full stacked Packout system in a truck bed? Only the bottom box mounts to your bed hardware. Boxes above lock to each other through the Packout latch system built into every box's top. The stack is as secure as that bottom connection — so get the first box solid and everything above it rides with it.
Does Milwaukee Packout work with a truck bed liner? Yes, with conditions. Spray-in liner: drill through it, no problem. Rubber drop-in mat: plate mounting works but may flex — shim under it or remove the mat in the mounting zone. Plastic drop-in liner: too much flex for plate mounting; use Manta Mount cleats instead.
How do Manta Mount cleats hold at highway speed? They use the same locking geometry as the standard Packout stacking interface — the same press-and-twist release you use to separate stacked boxes. It doesn't release under lateral or vertical load without deliberate action. Each cleat is rated at 50 lbs.
Can I add a work surface to a truck-mounted Packout? Yes. The Packout Folding Metal Side Table mounts to the Alpha Rail system or directly to the truck bed rail alongside the stack. Folds flat for transit; deploys for a work surface on site.
For everything you need to set up a truck-bed Packout system — cleats, rail mounts, folding table, and more — browse the full Packout accessories lineup. If you're building out a dedicated station, the Folding Metal Side Table is the piece that ties the whole build together. See the complete Milwaukee tool catalog for accessories that fit the platform. And if you want a broader look at what's worth adding to your Packout, our full guide to the best Packout additions is the right next read.